Bunker Hill, 17 June 1775
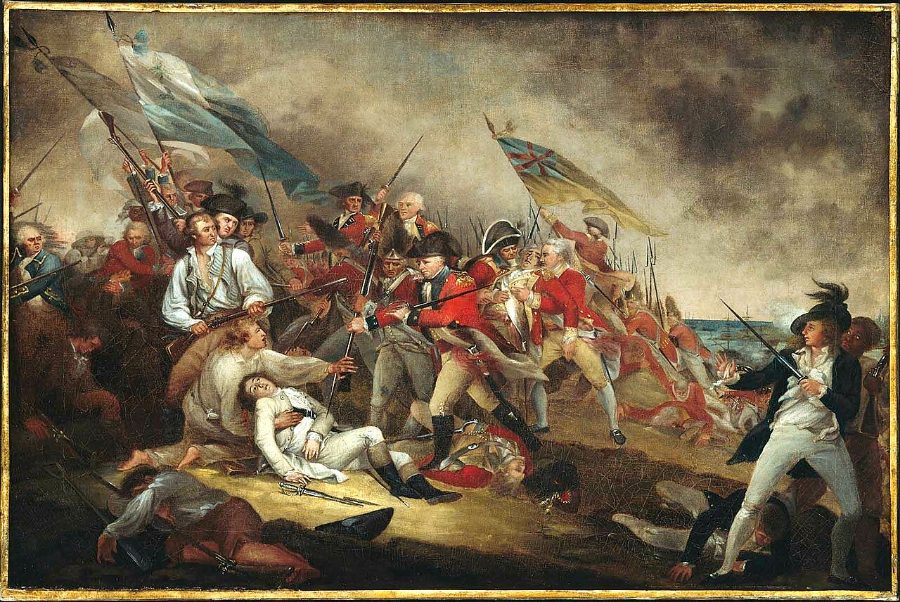
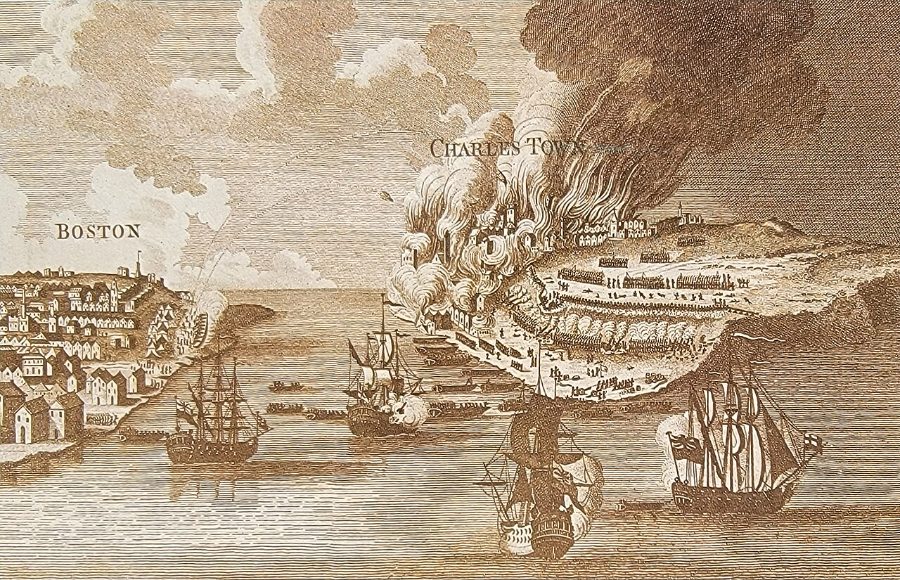
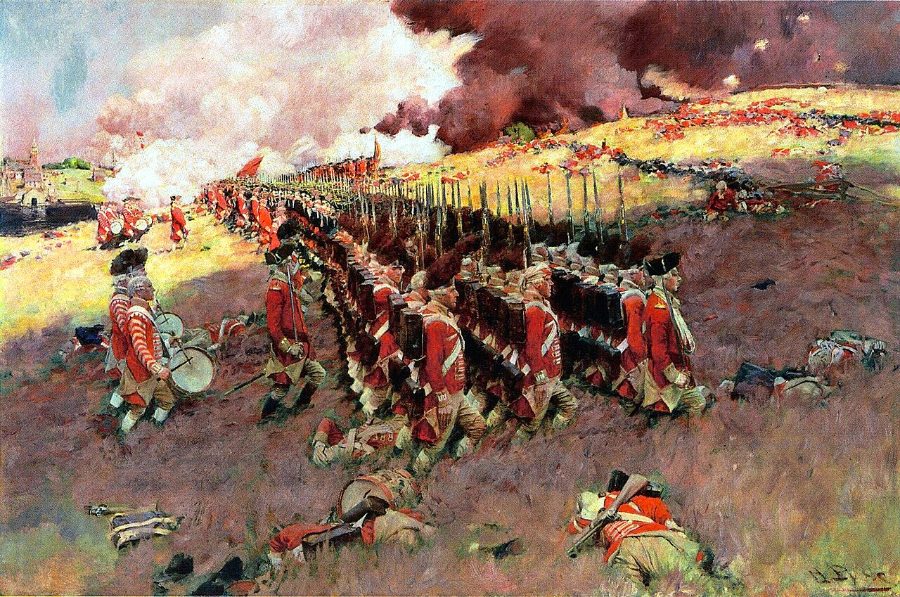
On 17 June 1775, two months after Lexington and Concord, New England militia fortified Breed's Hill on the Charlestown peninsula overlooking besieged Boston. General Howe's regulars made three frontal assaults; the first two were thrown back with heavy losses before the defenders, out of powder, were driven from the redoubt. The British took the peninsula but lost more than 1,000 of some 2,400 men engaged. Though a British victory, the battle showed that colonial militia could stand against professional troops, hardened both sides, and made a negotiated settlement far less likely.
Open the interactive map6 stages on modern satellite imagery and terrain, with 3D elevation
This battle is part of the full atlas, open to Patreon members. Free battles include Yorktown, Waterloo, The Alamo, Antietam, Little Bighorn, Belleau Wood, Omaha Beach, Ia Drang.
The battle, stage by stage
- Dawn, 17 June 1775
The redoubt on Breed's Hill
Overnight about 1,200 Massachusetts and Connecticut men under Col. William Prescott have thrown up an earthen redoubt on Breed's Hill — not Bunker Hill as ordered — with a breastwork running north toward the Mystic. At first light HMS Lively opens fire; the Copp's Hill battery in Boston and the warships in the Charles join in. Gen. Gage orders Howe to land on the peninsula and take the works.
- 1 PM
Howe lands at Moulton's Point
Some 1,500 regulars land unopposed at Moulton's Point, later reinforced to about 2,200. While Howe waits for more troops, Knowlton's Connecticut men and the New Hampshire regiments of Stark and Reed extend the American line along a rail fence and a stone wall to the Mystic beach, closing the gap Howe had hoped to turn.
- About 3 PM
First attack
Howe's light infantry advance in column along the Mystic beach to turn the American left, while the grenadiers attack the rail fence and Pigot's wing moves against the redoubt. Stark's men behind the stone wall hold their fire to close range: the light infantry are shattered and the grenadiers fall back. Carcasses from Copp's Hill set Charlestown ablaze.
- About 3:30 PM
Second attack
The British re-form and attack again, this time directly against the redoubt and breastwork with a supporting push at the rail fence. Again the volleys at 30–50 yards drive them back with heavy losses; Howe's entire personal staff is killed or wounded.
- About 4 PM
Final attack
Reinforced by 400 Marines and the 63rd under Clinton, Howe makes only a demonstration at the rail fence and throws everything at the redoubt. Its defenders, nearly out of powder, fight with musket butts and stones as the British swarm over the walls from three sides. Dr. Joseph Warren is killed in the redoubt.
- Late afternoon
The Americans withdraw
Prescott's men retreat over Bunker Hill toward Charlestown Neck, covered by the rail-fence troops, who fall back in good order. The British take the peninsula but at a cost of 1,054 killed and wounded — nearly half the force engaged — against about 450 American casualties. "A dear bought victory," wrote Clinton; "another such would have ruined us."
Paintings and photographs



Sources and method
How to use: pick one entry under "The battle". Tall blocks moved since the previous map, flat yellow outlines show where they came from, arrows join them, low grey blocks are everyone else. Red = British, blue = American.