Omaha Beach, 6 June 1944
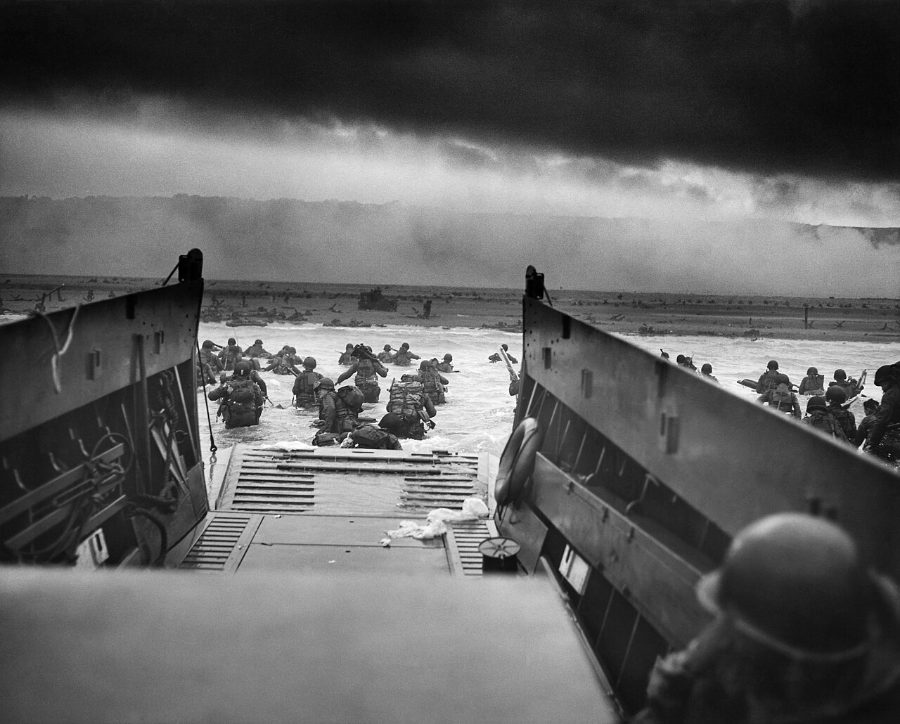
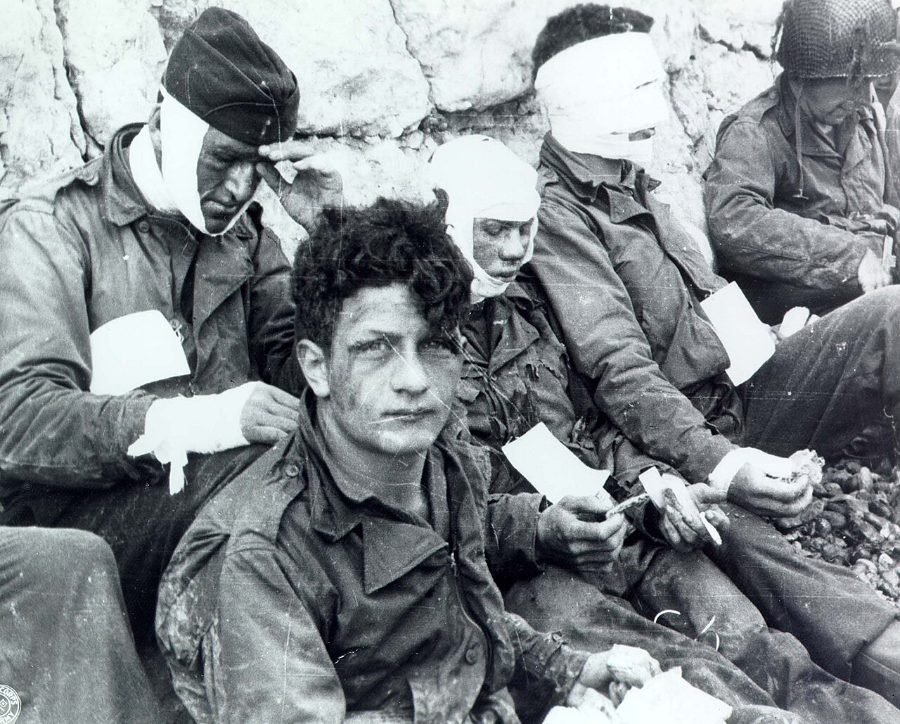
On 6 June 1944, the US 1st and 29th Infantry Divisions landed on Omaha, the most heavily defended of the five Allied beaches in Normandy, facing German strongpoints on bluffs that commanded every exit. Bombing had missed, most amphibious tanks sank, and the first waves were cut down at the water's edge or pinned behind the shingle. Small groups led by junior officers and NCOs, supported by destroyers firing at point-blank range, climbed the bluffs between the strongpoints and by evening had won a shallow beachhead at a cost of some 2,400 casualties or more. Omaha's near-failure made it the costliest of the D-Day beaches and a lasting symbol of the sacrifice of the Normandy invasion.
Open the interactive map6 stages on modern satellite imagery and terrain, with 3D elevation
This battle is free to explore — no account needed.
The battle, stage by stage
- 6 June 1944, 06:00
The assault force goes in
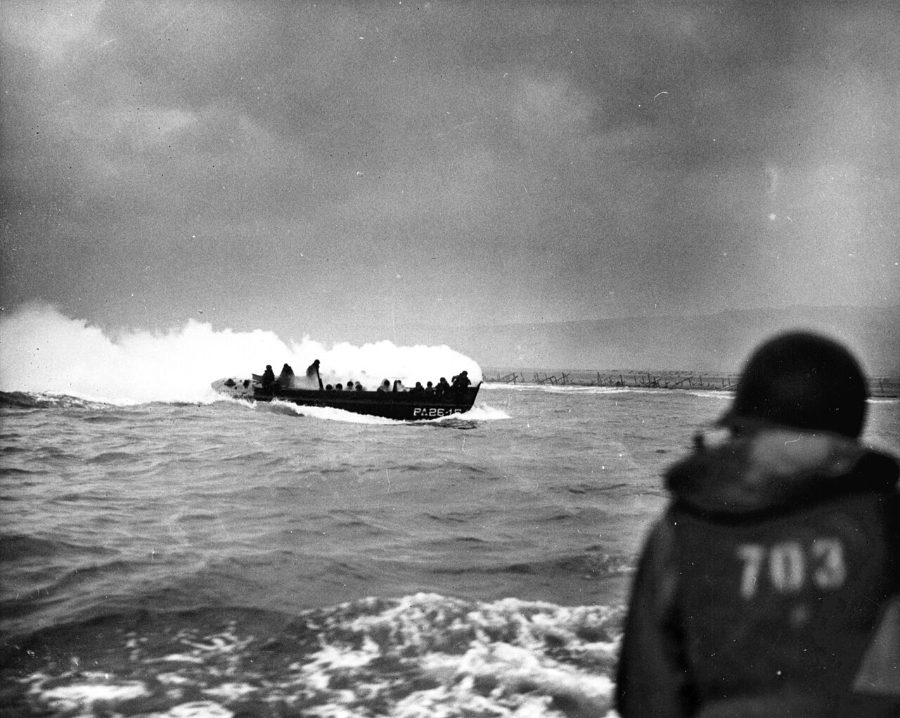
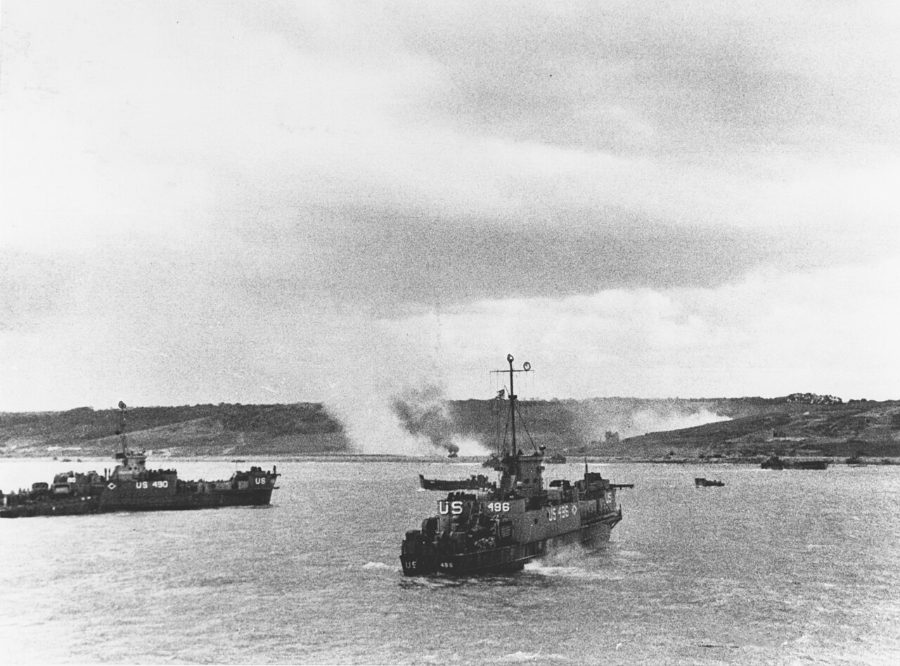
After a 40-minute naval bombardment and an air attack that misses the beach entirely, the first landing craft head for the 6-km beach below the bluffs. The 116th RCT of the 29th Division is to land on the western sectors (Dog and Easy Green), the 16th RCT of the 1st Division on Easy Red and Fox Green. Most of the 741st's DD tanks are launched far out and sink. The bluffs are held by the strongpoints (Widerstandsnester) of the German 352nd and 716th Divisions, covering the five draws that are the only exits for vehicles.
- 06:30–07:30
The first wave lands
Strong currents carry most boats east of their sectors. In front of the D-1 Vierville draw, A Company, 116th Infantry, is almost wiped out in minutes. Along the whole beach the surviving infantry crawl through the obstacles to shelter behind the shingle and seawall; the 743rd's tanks landed directly on the sand provide most of the fire support. C Company, 2nd Rangers, lands at Charlie and starts up the cliff west of the draw.
- 07:30–08:30
Pinned at the shingle
Later waves pile up on the narrowing beach as the tide comes in. General Norman Cota lands on Dog White with the 116th's command group and the 5th Rangers ("Rangers, lead the way!"); on Easy Red Col. George Taylor tells the 16th: "Two kinds of people are staying on this beach — the dead and those who are going to die. Now let's get the hell out of here."
- 08:30–noon
Up the bluffs between the draws
Small groups blow gaps in the wire and climb the bluffs between the strongpoints: Cota and the 5th Rangers above Dog White, the 116th's 3rd Battalion near Les Moulins, Lt. Spalding's and Capt. Dawson's companies of the 16th west of the E-3 draw. Destroyers steam in to within a few hundred metres and engage the bunkers directly. WN 64 and WN 70 are overrun from behind.
- Noon–afternoon
The draws are opened
WN 65 at the E-1 draw falls and engineers bulldoze the first exit road; WN 62 and WN 61 above the E-3 draw are cleared. The 18th RCT lands on Easy Red and the 115th RCT on Easy Red and Fox Green, both moving up through the E-1 area. In the west the 116th and Rangers fight into Vierville.
- Evening of D-Day
The beachhead
By nightfall the Americans hold a strip about 2 km deep: the 116th and Rangers at and west of Vierville, the 115th around St-Laurent, the 16th at Colleville and the 18th south and east of it, with German pockets still holding out. About 34,000 men have landed; casualties are estimated at 2,400–4,700. The planned D-Day objectives, several kilometres inland, are not reached.
Paintings and photographs





Sources and method
How to use: pick one entry under "The battle". Tall blocks moved since the previous stage, flat yellow outlines show where they came from, arrows join them, low grey blocks are everyone else. Red = German, blue = American.