Little Bighorn, 25–27 June 1876
On 25 and 26 June 1876, Lieutenant Colonel George A. Custer's 7th Cavalry attacked a great camp of Lakota, Northern Cheyenne and Arapaho on the Little Bighorn River in Montana Territory. Custer divided his regiment; Major Reno's attack on the south end of the village was routed, while Custer and the five companies with him — some 210 men — were surrounded and killed to the last man. Reno and Benteen's survivors held out on the bluffs until the village moved away. The battle was the greatest Native American victory of the Plains Wars, but the shock in the East brought a massive Army response, and within a year most of the Lakota and Cheyenne had been forced onto reservations.
Open the interactive map7 stages on modern satellite imagery and terrain, with 3D elevation
This battle is free to explore — no account needed.
The battle, stage by stage
- 25 June 1876, about 3 PM
Custer divides his regiment
Custer has split the 7th Cavalry: Benteen's three companies scout to the south-west, Reno's three cross the Little Bighorn at Ford A to attack the southern end of a great Lakota and Cheyenne village, and Custer rides north along the bluffs with five companies to strike it from another side. The village, along the west bank, holds perhaps 6,000–8,000 people and 1,500–2,000 fighting men.
- About 3:15 PM
Reno's charge and skirmish line
Reno charges down the valley, then halts short of the Hunkpapa circle and dismounts in a skirmish line. Warriors pour out of the village and work around his left flank; Reno pulls back into the timber along the river. On the bluffs above, Custer looks down on the village near Weir Point and sends for Benteen and the packs.
- About 3:45–4:20 PM
Reno routed; Custer at Medicine Tail Coulee
Reno's retreat becomes a rout across the river at the Retreat Ford and up the bluffs to Reno Hill, with heavy losses; Benteen arrives there about 4:20. Custer divides again: Yates's two companies ride down Medicine Tail Coulee toward Ford B and are turned back, while Keogh's three companies hold the high ground to the east.
- About 4:30–5 PM
Calhoun Hill and the Keogh sector
Custer's battalion reunites on the ridge north of Medicine Tail. Calhoun's L Company and Keogh's I Company hold Calhoun Hill and the swale behind it while Yates's wing scouts north. Gall's warriors work up Deep Coulee and Greasy Grass Ridge; Crazy Horse and the Cheyenne under Two Moons sweep round to the north and east. Weir rides to Weir Point on his own.
- About 5–6 PM
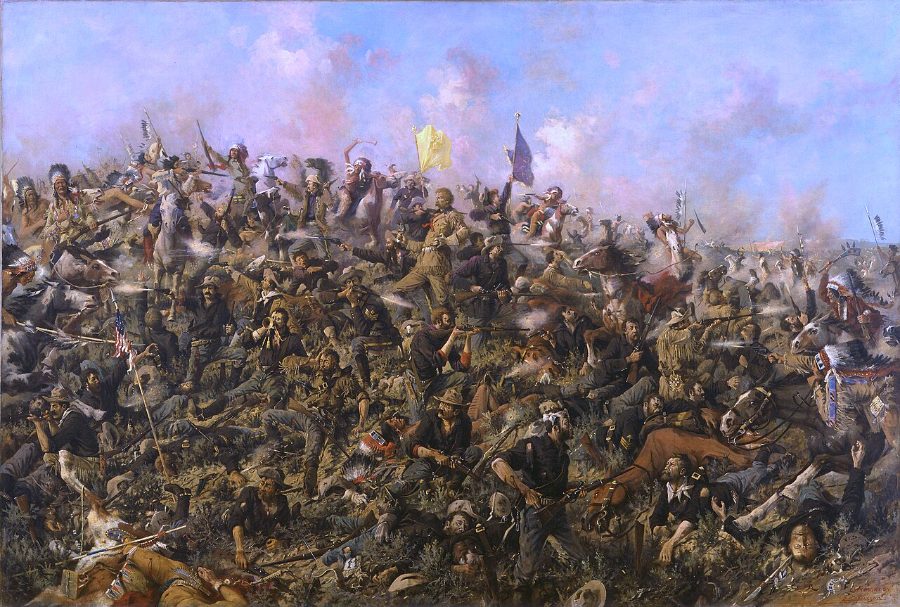
The Last Stand
Calhoun's and Keogh's companies collapse; survivors stream north to Last Stand Hill, where Custer, his brothers and about 40 men of F Company fight on until overrun. Smith's E Company, sent toward the river, dies in and around Deep Ravine. All 210 men with Custer are killed. At Weir Point, the rest of the regiment sees dust and smoke to the north, then is driven back to Reno Hill.
- Night of 25 June and 26 June
The siege of Reno Hill
Reno's and Benteen's seven companies and the pack train dig in on Reno Hill under fire from the surrounding ridges, including Sharpshooter Ridge. They hold through the night and the next day; water parties crawl down the ravines to the river under fire. Late on 26 June the village packs up and moves south.
- 27 June
Terry and Gibbon arrive
General Terry's Montana Column comes up the valley from the north and finds the village gone. Lt. Bradley's scouts discover the bodies on Custer's field; Reno's survivors learn Custer's fate. The 7th Cavalry lost 268 killed; Lakota and Cheyenne losses are estimated at 30–100.
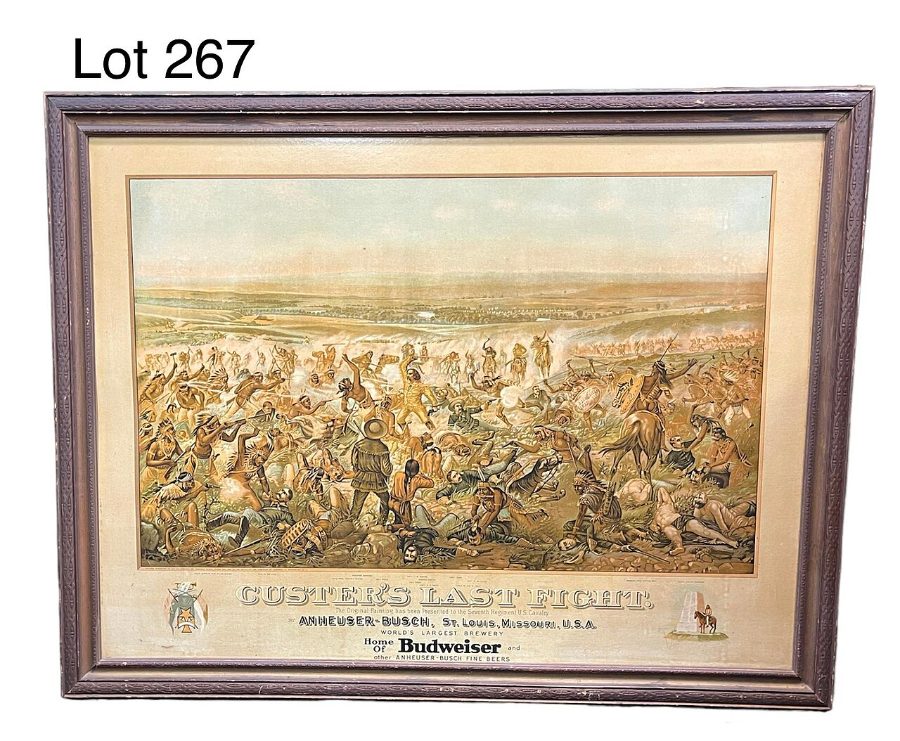
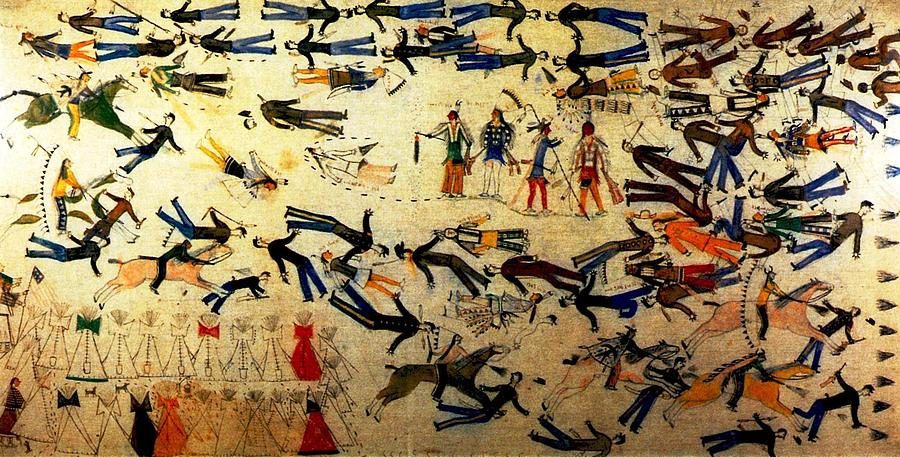
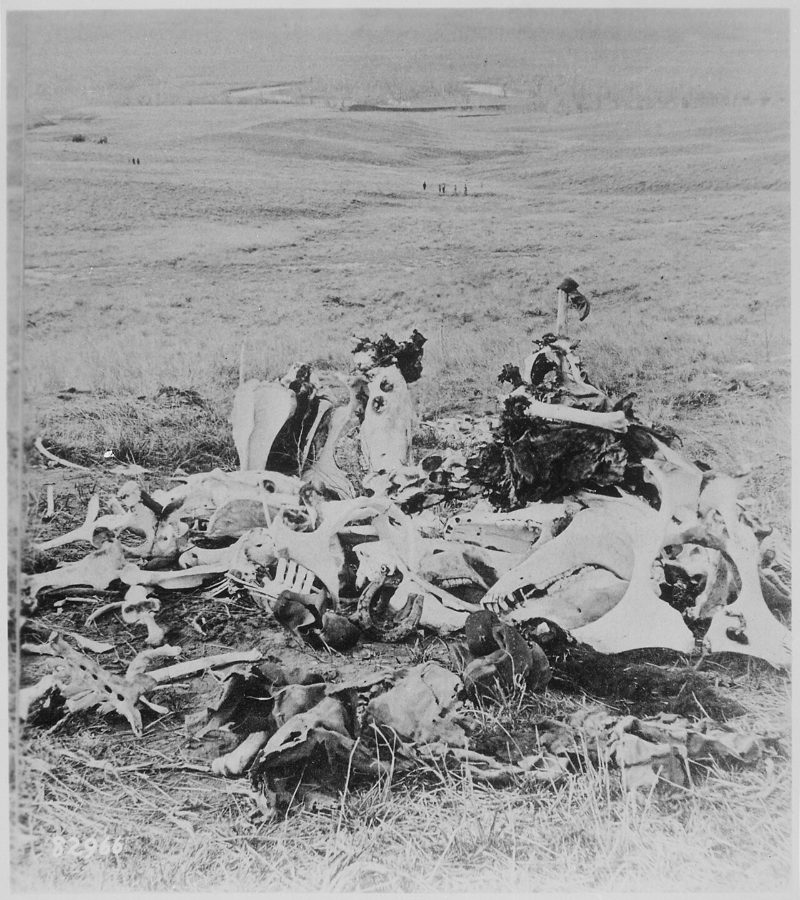
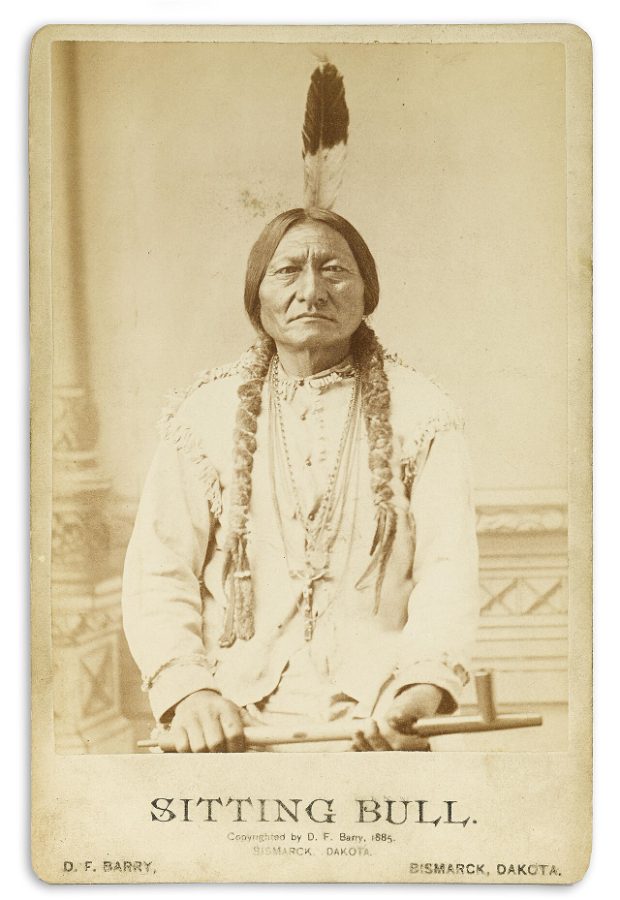
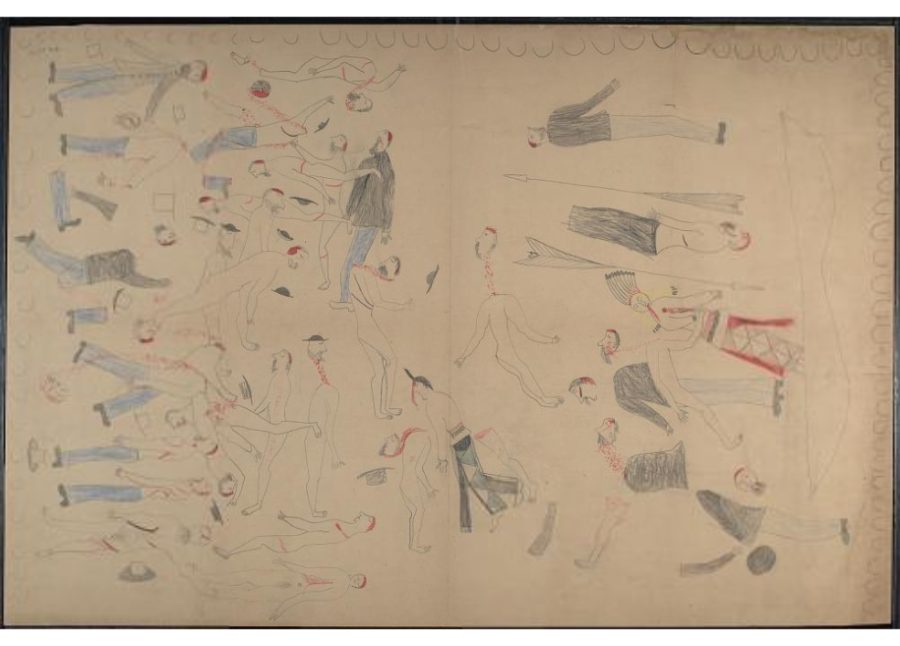
Paintings and photographs






Sources and method
How to use: pick one entry under "The battle". Tall blocks moved since the previous stage, flat yellow outlines show where they came from, arrows join them, low grey blocks are everyone else. Red = Lakota and Cheyenne, blue = 7th Cavalry. In the last two stages the grey blocks on Custer's field mark where his companies fell.